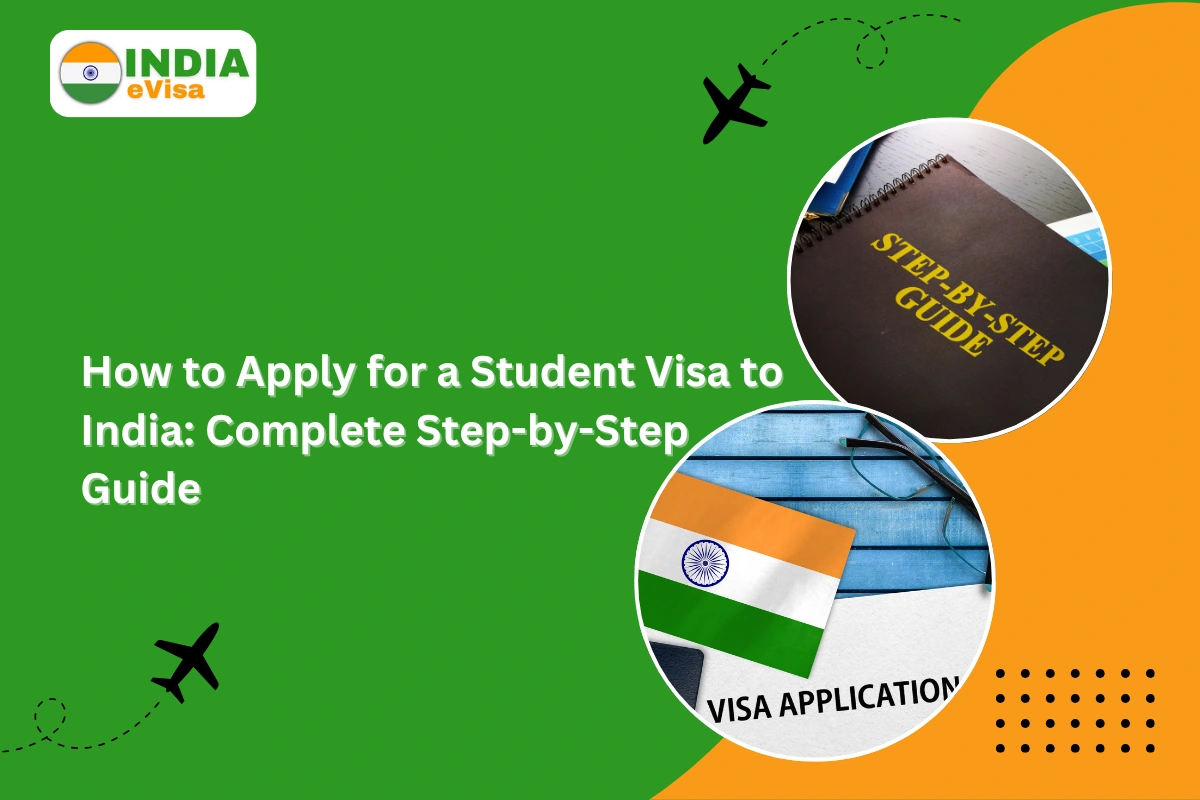
How to Apply for a Student Visa to India: Complete Step-by-Step Guide
Thousands of students every year choose India for its affordable education, rich culture, and world-famous institutions. Whether it’s ancient wisdom, modern tech, or medical science—you’ll find it all here. But before you start packing your bags, there’s one big thing you need to sort out first: your student visa to India.
If the whole visa process feels overwhelming right now, relax—we’ve got your back. In this guide, we’ll walk you through everything you need to know. Step by step. In simple, clear English. No jargon, no confusion.
What Exactly Is a Student Visa to India?
Let’s start with the basics. A student visa to India is a legal document that lets international students come to India for full-time academic studies. This visa allows you to live, study, and even take internships (if your course allows it) in India during your academic journey.
It’s usually valid for the full duration of your course—up to 5 years. And yes, if needed, it can be extended later.
Step 1: Get Admission First — It All Starts Here
You can’t apply for a student visa to India without a confirmed seat at an Indian college or university.
So your first step is to:
- Research Indian universities and programs that interest you
- Apply to one or more institutes (check they are recognized by UGC or Indian government)
- Wait for your admission letter
That letter is super important. It’s your proof that you’re a genuine student, and the Indian government will ask for it when you apply for your visa.
Step 2: Know the India Visa Requirements & Get Your Documents Ready
Once your admission is sorted, it’s time to gather your papers. This part is crucial. Knowing the India Visa Requirements helps avoid delays later.
Here’s what you’ll typically need:
- A valid passport (with at least 6 months left before expiry)
- A recent passport-size photo
- Your admission letter (the official one from the university)
- Proof you can afford the course (like bank statements or a scholarship letter)
- Address proof in your home country
- Completed visa application form (you’ll do this on the India Visa Online portal)
If you’re joining certain courses (like medicine), you may also need a health clearance or special approvals from Indian authorities.
Step 3: Apply Through the India Visa Online Portal
Now comes the action: applying for your visa.
The easiest way to do this is through the official India Visa Online portal. No need to go to an office or embassy just yet.
Here’s what to do:
- Go to India Visa Online
- Select “Student Visa” from the options
- Fill in your personal and academic details
- Upload your documents (passport, photo, admission letter)
- Pay the visa fee (it varies by country)
Once done, you’ll get a confirmation page. Print it out—you’ll need it later.
Step 4: Visit the Indian Embassy or Visa Center
After applying online, you need to book an appointment at the nearest Indian embassy or Indian Visa Application Center (IVAC). This is where they check your documents and take biometrics if needed.
Take these with you:
- A printed copy of your application form
- Your passport and its copy
- Passport-size photographs
- Admission letter
- Proof of financial support and your home country address
Once submitted, they’ll keep your passport temporarily for visa stamping.
Step 5: Wait for Approval (But Not Too Long)
The wait is usually around 7 to 14 business days, depending on your country and application load.
Once your visa is ready, you’ll get your passport back with the student visa to India sticker inside. Double-check all the details (course, university name, duration) are correct. If anything’s off, contact the embassy right away.
Step 6: Arrive in India – and Register with FRRO if Needed
You’re almost done!
Once you land in India, you may need to register with the Foreigners Regional Registration Office (FRRO)—but only if your stay is more than 180 days.
Here’s what you’ll need for FRRO registration:
- Your passport with the visa
- A copy of your admission letter
- Proof of where you’re staying (hostel, rent agreement, etc.)
- Passport-size photographs
- Proof of funds
Good news: you can now do this online through the e-FRRO platform, which means less paperwork and no long queues. Unless they call you for verification, you won’t need to go in person.
What If You Need to Extend Your Visa?
Let’s say your course takes longer than expected—or maybe you change your program.
In that case, you’ll need to extend your student visa to India. Here’s how:
- Get a new bonafide certificate from your university
- Show updated financial records
- Apply for an extension at your local FRRO or through the e-FRRO portal
Don’t wait until the last moment—always apply before your current visa expires.
Final Checklist (Quick Recap)
Let’s review what you need to do:
- Get admission at a government-recognized Indian institute
- Collect all documents per India Visa Requirements
- Fill your form on the India Visa Online website
- Schedule your embassy or IVAC appointment
- Attend the appointment and submit documents
- Wait for approval and get your student visa to India
- Fly to India and register with FRRO if needed
- Apply for extension later if required
Final Thoughts: You’ve Got This!
Applying for a student visa to India doesn’t have to be stressful. Yes, there are several steps, but if you take them one at a time—it’s totally manageable.
India is full of opportunities, whether you’re here for spiritual studies, cutting-edge science, or just an unforgettable cultural experience. Getting your visa is just the first chapter in a life-changing adventure.
Still unsure about something? We’ve got more resources on India Visa Online applications and the latest India Visa Requirements to help you out.
Feel free to explore and let us know if you need personal guidance. We’re here to help.
Safe travels and happy studying!