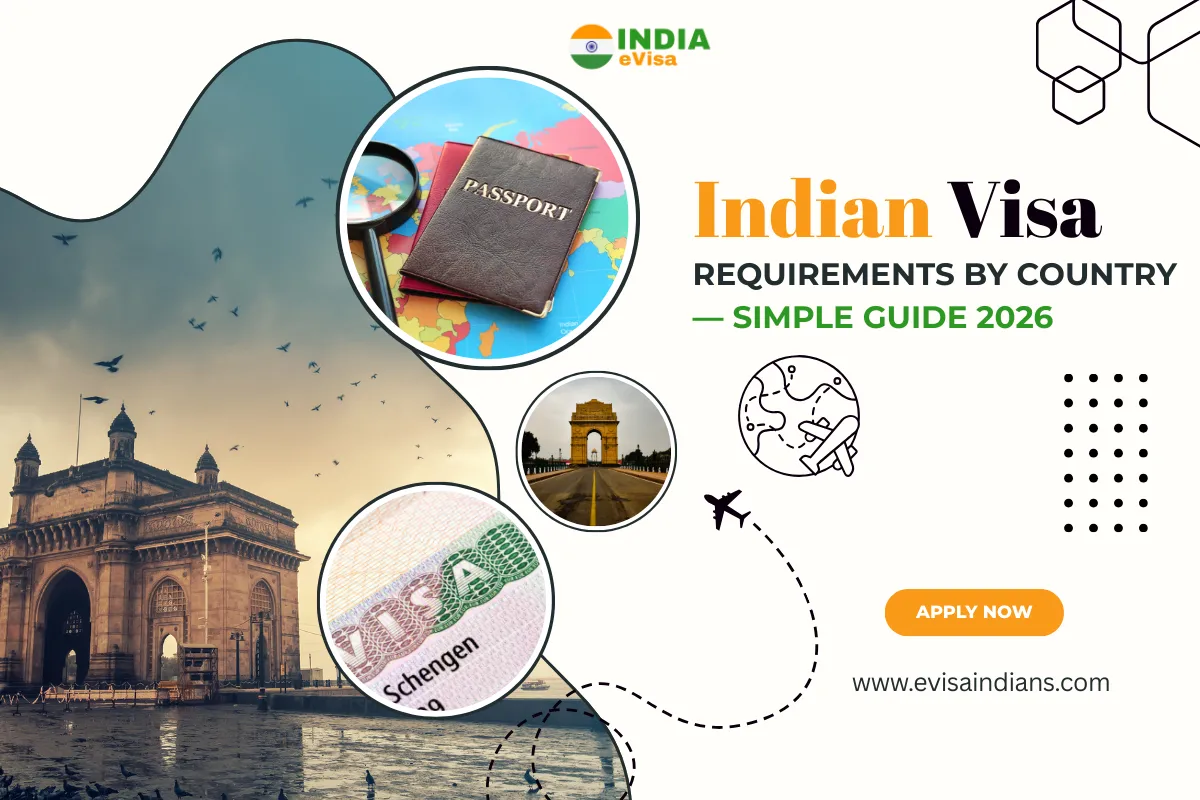
Indian Visa Requirements by Country — Simple Guide 2026
Traveling to India is exciting — and a little confusing at first. This simple guide explains Indian Visa Requirements so you can apply without stress. I’ll use plain language, give real tips, and point you to the official India Visa Online system where possible. You’ll also learn how the Indian e-visa works and which passport holders normally follow different rules.
Quick note: the rules below are based on official India e-Visa and consular pages. Always double-check the government site before you apply.
What are the main visa types visitors use?
India has different visas depending on why you travel. The most common for short visits are:
- e-Tourist Visa — for holiday, visiting friends or family, short yoga courses.
- e-Business Visa — for business meetings, conferences and trade visits.
- e-Medical & e-Medical Attendant — for medical treatment and to accompany a patient.
- Regular paper visas — for longer stays, work, study, or other special reasons.
Most short visits use the Indian e-visa categories. Each type has its own rules about how long you can stay and how many times you can enter. Read the visa type details on the official portal before applying.
Who can apply online — which countries are eligible?
Not every passport holder can use the e-Visa. The Government of India publishes a list of eligible countries whose citizens can apply online for an e-Visa. If your country is on that list, you can usually complete everything on the India Visa Online portal and get your visa electronically. If your country is not eligible, you will likely need to apply at an Indian embassy or consulate and meet the embassy’s specific Indian Visa Requirements. Check the official eligible-countries list before you plan your trip.
(Pro tip: the list can change. If you booked a trip months ago, check again close to travel.)
How to apply step by step (easy version)
- Go to the official e-Visa site — this is the safe India Visa Online route.
- Pick the right visa type (tourist, business, medical).
- Fill in your personal and passport details — exactly as on your passport.
- Upload a clear passport bio page and a recent photo, as asked.
- Pay the fee online using a secure method.
- Wait for the approval email and download the PDF e-Visa. Print it and carry it with your passport.
If something goes wrong, the email or portal usually explains why. For complicated issues contact the nearest Indian mission.
How long can you stay?
Stay limits depend on visa type. For example, e-Tourist visas are available for 30 days, 1 year, and in some cases 5 years (with different rules for number of entries). Also, there is a rule that the maximum time a foreigner can spend in India on tourist visas in one calendar year is capped (check exact limits for your case). Always confirm the allowed stay for your specific indian evisa before travel.
Common problems — and how to avoid them
- Name mismatch: Your name must match the passport exactly. Even small spelling differences cause delays.
- Wrong passport page: Upload the passport bio page clearly; don’t upload visa pages.
- Late application: Don’t apply on the day before your flight. Allow a buffer — at least a few days for e-Visas, longer for regular visas.
- Fake sites: Only use the official India Visa Online portal. Look for “.gov.in” and official contact details.
- Entry point rules: Some e-Visas are valid only for airports and certain seaports — check this before you travel.
I know this feels like a lot. Think of it as a short checklist: correct passport, correct form, clear uploads, and proof of travel. That solves the majority of problems.
What if your application is refused?
If your e-Visa is refused, the portal usually gives a reason. Fix the issue (for example, correct documents or photos) and reapply. For serious issues — criminal records, health concerns — the embassy or consulate will advise the next steps. Keep copies of everything and contact your local Indian mission if you need help.
Quick travel checklist
- Passport valid for at least 6 months from arrival date.
- Approved indian evisa printed and saved offline.
- Return or onward ticket and address of stay in India.
- Payment receipts and email confirmations.
- Copies of documents (phone + print).
Use the phrase Indian Visa Requirements when you check lists so you don’t miss document or process details.
Final, friendly tip
Applying for a visa is a small step that opens a big trip. If you follow the official India Visa Online steps and meet the Indian Visa Requirements for your country, most travellers find the process quick and straightforward. If you are unsure about anything, contact the Indian consulate in your country or the official e-Visa helpdesk — it saves time and worry. Safe travels!