Mistakes to Avoid When Applying for an India Visitor Visa
Applying for an India Visitor Visa can feel stressful if it’s your first time. I get it — forms, photos, documents, and the fear of a rejection email can make anyone nervous. The good news: most mistakes are avoidable with a little care and a bit of checking. Below I’ll walk you through the important steps, common traps, and plain-English tips so you leave this page confident and ready to apply. Wherever possible, I’ll explain the reason behind each rule so it makes sense, not just sound like another list.
Start with the official site — don’t trust random portals
Always begin your application on the official portal: India Visa Online. This is the government site where e-visas and visitor visas are processed. Fake sites and paid middlemen sometimes look convincing, so double-check the web address before you enter personal data or pay any fee. If something looks off, step back and verify — it’s better to spend five extra minutes now than to lose money or time later.
Filling incorrect or inconsistent information
One of the top reasons for rejection is mismatched details — spellings, passport numbers, or dates that don’t match your passport. For example, if your passport has a middle name and you omit it on the India Visitor Visa form, border officers may pause or reject your request. Always copy names and numbers exactly as they appear on your passport. This is especially important when you apply for an e tourist visa india, where the online system cross-checks uploaded documents automatically.
Quick fix: Keep your passport open while filling the form. Type slowly and double-check every field before submission. Have someone else read your form if they can — a fresh pair of eyes often spots small mistakes.
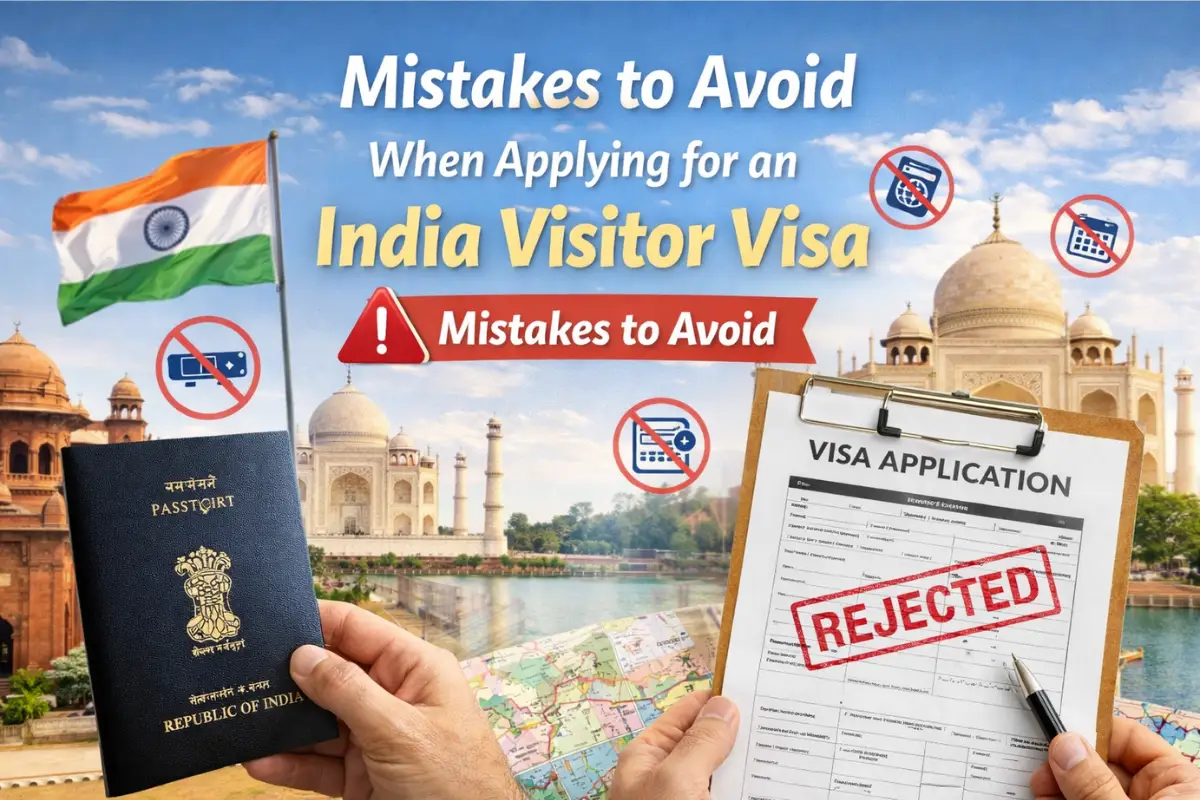
Poor photo or document uploads
The online system needs clear passport scans and a recent photo that meets size and background rules. If the picture is blurry, too small, or has the wrong background, your e tourist visa india application can be delayed or refused. Agencies and consulates list precise photo and file-size rules — follow them. A bad photo looks unprofessional and creates extra work for the visa officer.
Tip: Use a smartphone camera in natural light, stand against a plain background, crop to the exact size requested, and save as JPEG. Name files clearly (for example, passport_page.jpg) so you don’t upload the wrong file by mistake.
Applying through unofficial websites or scams
Fraudulent sites push applicants to pay extra fees or provide unnecessary services. They may even promise guaranteed approvals — which is never a real offer. For a safe start, use India Visa Online and official embassy pages for guidance about the India Visitor Visa and e tourist visa india categories. If an embassy warns about fake portals, take that warning seriously.
Tip: If you’re unsure, visit your country’s Indian embassy page and confirm the official portal link. Do not give personal data or pay fees to a site that looks unprofessional or asks for unusual payment methods.
Not checking passport validity and blank pages
Most countries, India included, expect your passport to be valid for at least six months beyond your planned stay. Also, make sure you have at least two blank pages for entry stamps. Applying for an India Visitor Visa with a near-expiry passport is a common and costly mistake because you may need to renew the passport after paying for the visa.
Quick fix: Renew your passport before applying if it’s close to expiry. It’s a small step that saves a lot of trouble.
Weak or missing travel plans and proof of funds
For tourist or visitor visas, immigration officials want to see a clear plan and proof you can support your stay. A vague itinerary or no evidence of funds can make approval harder. If you’re applying for an e tourist visa india, have hotel bookings, flight reservations, or an invitation letter ready. Basic bank statements that show steady savings are also very helpful.
Tip: Print your flight bookings, hotel confirmations, and a simple daily plan. Even a short, clear itinerary helps the visa officer understand your purpose and makes your application stronger.
Ignoring the right visa category
There are different visa types: tourist, business, medical, and more. The e tourist visa india is for short visits and has limits on duration and entries. If your trip doesn’t match the e-visa rules — for example, if you plan to work, volunteer, or study — applying under the wrong category can lead to refusal at arrival. Always read the eligibility rules before applying and choose the correct visa type for your trip.
Tip: If in doubt, use the guidance on India Visa Online or contact the nearest Indian mission. It’s better to ask and be sure than to apply wrongly and waste time.
Last-minute applications and ignoring processing time
While many e-visas are processed fast, official pages show standard response times and recommend applying well before travel. Rushing increases stress and the chance of errors. For smoother processing, apply early, keep copies of your application ID and confirmation email, and check your email often for any follow-up requests.
Tip: Apply at least a few weeks before travel when possible, and keep screenshots of your submission.
Forgetting to carry copies and important contacts
Even after approval, carry printed and digital copies of your India Visitor Visa approval, passport bio page, hotel bookings, and emergency contacts. Immigration officers sometimes ask for extra proof on arrival. Keep your travel insurance and local contact numbers handy too.
People often ask: should I apply for an India Visitor Visa or choose the e tourist visa india? The answer depends on your trip. If you want a short holiday, the e tourist visa india or a simple India Visitor Visa may be enough. If your travel plan is longer or for work, the India Visitor Visa rules may differ. Always read the India Visitor Visa guidance and make sure the e tourist visa india rules match your plans. If you forget to check, you might have to change your flight or face delays on arrival.
Final checklist — quick, human, and practical
Apply only on India Visa Online (official portal).
Copy passport details exactly.
Use a correct, recent photo and clear scanned passport page.
Choose the right visa type — don’t force a tourist visa for business travel.
Show travel bookings and proof of funds.
Save and print your confirmation and carry copies.
Beware of fake websites and extra-charge agents.
Applying for an India Visitor Visa doesn’t have to be scary. With small steps — following official guidance, checking photos, and double-checking details — you’ll avoid most common problems. If your trip plans fit the rules, using the e tourist visa india option can be fast and convenient. For more detailed help, check the official pages for the latest India Visa Information and application instructions, or reach out to your nearest consulate. Safe travels!